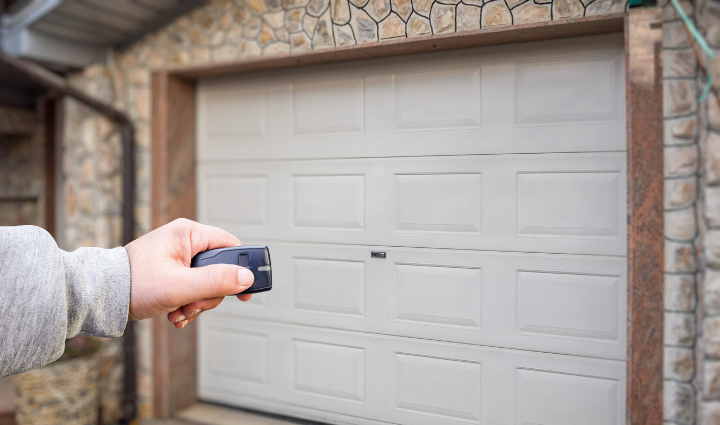
How to Program Liftmaster Garage Door Remote
Programming a LiftMaster garage door remote may seem daunting, but with a clear, step-by-step approach, it’s a task that anyone can accomplish with ease. This guide is crafted to offer precise, actionable steps for programming your LiftMaster remote, ensuring you have a smooth and secure experience. Whether you’re a first-time user or looking to replace an old remote, this article is your definitive source of information.
Understanding Your Liftmaster Garage Door Remote
Before diving into programming, it’s important to understand the basic components of your LiftMaster remote and garage door opener. LiftMaster remotes come in various models, but most share similar features and functionalities. Key elements include:
- Remote Control: Handheld device with buttons to open and close the garage door.
- Garage Door Opener Unit: The motorized unit is attached to your garage ceiling.
- Learn Button: A critical component located on the opener unit, used to sync the remote with the garage door opener.
Safety Precautions
Always ensure your garage door area is clear of obstructions before programming. Keep children and pets at a safe distance to avoid accidents.
Step-by-Step Guide to Programming Your LiftMaster Remote
Step 1: Locate the Learn Button
The Learn button is usually located on the back or side of the LiftMaster garage door opener unit. It may be under a light cover or near the antenna wire. The button color can vary (yellow, purple, red, or green) depending on the model, which can help you identify the unit’s compatibility.
Step 2: Press and Release the Learn Button
Press the Learn button on the garage door opener unit. You’ll notice the indicator light next to the button turns on, indicating that the system is ready to pair with the remote.
Step 3: Press the Desired Button on the Remote
Within 30 seconds of pressing the Learn button, press and hold the button on the remote control that you want to program. Hold the button until the indicator light on the garage door opener blinks, confirming that the remote has been successfully programmed.
Step 4: Test the Remote
Press the programmed button on the remote to test the functionality. If the garage door opens or closes as expected, the programming is successful. Repeat the process if necessary, or consult the troubleshooting section below if you encounter issues.
Troubleshooting Common Issues
Even with careful following of the steps, issues can arise. Here are common problems and their solutions:
Remote Not Working After Programming
- Battery Check: Ensure the remote has a fresh battery.
- Distance: Make sure you are within range of the garage door opener.
- Interference: Remove any objects that might block the signal between the remote and the opener.
The garage Door Opener Light Blinks But the Door Doesn’t Move
- Obstruction: Check for any obstructions in the garage door’s path.
- Force Settings: Adjust the force settings on the garage door opener, following the manufacturer’s instructions.
FAQs about How to Program Liftmaster Garage Door Remote
1. How do I reset my LiftMaster garage door opener?
To reset your LiftMaster garage door opener, press and hold the Learn button until the indicator light turns off. This clears all remote codes from the system, allowing you to reprogram the remotes from scratch.
2. Can I program multiple remotes to one garage door opener?
Yes, most LiftMaster garage door openers can support multiple remotes. Simply repeat the programming steps for each remote you want to add.
3. What should I do if my remote stops working?
First, check the battery. If replacing the battery doesn’t work, try reprogramming the remote. If the issue persists, you may need to check for interference or consult a professional technician.
4. How far should the remote work from the garage door opener?
Typically, a LiftMaster remote should work within 100 feet of the garage door opener. If the range is significantly reduced, consider checking the battery or for potential interference.
5. Can I use a universal remote with my LiftMaster garage door opener?
Yes, but ensure the universal remote is compatible with your LiftMaster model. Follow the programming instructions specific to the universal remote for best results.
Enhancing Your Garage Door Experience
Programming your LiftMaster remote is just one step toward a more convenient and secure home. For enhanced functionality, consider additional LiftMaster accessories such as keypads, wall-mounted controls, and smart home integrations. These tools provide greater control and flexibility, making your garage door system more efficient and secure.
Final Thoughts
Programming a LiftMaster garage door remote is a straightforward process when you follow the correct steps. This guide is designed to build your confidence and ensure success, with expert insights to make the process smooth and hassle-free. With your LiftMaster remote properly programmed, you’ll enjoy seamless access to your garage, enhancing both security and convenience. By following this guide, you’re taking control of your home’s accessibility with a reliable and expertly crafted approach.


Comments are closed